Create cryptocurrency
In this article I will explain how to create cryptocurrency.
I will focus on the technical part, since creating a cryptocurrency as a business is a project that involves several sectors, and for this you need a solid business plan and a team.
I will describe how to create cryptocurrency from scratch with the possibility of mining that cryptocurrency and with a simple wallet in command mode.

What is cryptocurrency?
In a simple way, cryptocurrency is created in a process that runs on each computer in the network and performs several tasks: creation and issuance of the cryptocurrency, management of the blocks and the blockchain, transaction management, creation of the hashes through a specific algorithm and management of P2P (peer to peer) communications between the nodes of the network.
I will show 3 methods for creating cryptocurrency: based on Cryptonote, based on ERC20 contract and based on a NEM Mosaic.
Cryptocurrency based on Cryptonote
This cryptocurrency inherits the properties of CryptoNote, which grant certain advantages in relation to the original Bitcoin: transactions can not be traced, thus providing an important anonymity. It uses an algorithm for the work test (PoW) that does not reward mining with ASICs and GPUs, in some way democratizing the mining and saving energy, since it can be mined with a cpu from a home computer. It also has an emission curve that promotes the creation of most currencies in the first two years.
It is from the family of cryptocurrencies among which is Monero, Bytecoin and Dashcoin to name a few.
If you need technical support on these issues, send me a request in the contact form.
What do we need to create our own cryptocurrency?
Since it is a program written in C / C ++ we will need a development environment where you can compile source code in C / C ++, and since it will have to be always operative and in the network, we will need a server in the internet where you can run, and that will serve as the main node of the network.
Steps to follow to create the cryptocurrency
# 1 Get a vps or a server connected to the internet
For this we have to rent a Linux server in the cloud. In this link you can create one in Digital Ocean with a discount.
# 2 Create an account on GitHub
The source code we are going to use is in GitHub , which means you need to create an account or use an existing one.
# 3 Create a fork of CryptoNote
You have to create a fork of the original Cryptonote project , this is very simple by clicking on the " Fork " button.

# 4 Clone the repository using git
To download the project to the vps server, you must clone the git repository.

To do this, take the url that appears in the Clone or download button and run in a terminal of the vps server:
git clone https://github.com/tu-usuario/tu-repositorio.git
# 5 Edit the file CryptoNoteConfig.h
Once the repository code has been downloaded, you must edit certain configuration parameters of the virtual currency that will be created.
These changes that are shown (by default) must be made in the file /src/CryptoNoteConfig.h replacing the specific values for your virtual currency.
- const char CRYPTONOTE_NAME [] = "yourcoin";
- const uint64_t MONEY_SUPPLY = (uint64_t) (- 1);
- const unsigned EMISSION_SPEED_FACTOR = 18;
- const uint64_t DIFFICULTY_TARGET = 120;
- const uint64_t MINIMUM_FEE = 100000;
- const size_t CRYPTONOTE_BLOCK_GRANTED_FULL_REWARD_ZONE = 20000;
- const int P2P_DEFAULT_PORT = 17236;
- const int P2P_DEFAULT_PORT = 17236;
- const static boost :: uuids :: uuid CRYPTONOTE_NETWORK = {{0xA1, 0x1A, 0xA1, 0x1A, 0xA1, 0x0A, 0xA1, 0x0A, 0xA0, 0x1A, 0xA0, 0x1A, 0xA0, 0x1A, 0xA1, 0x1A}};
- const std :: initializer_list
SEED_NODES = {"111.11.11.11:17236", "222.22.22.22:17236",}; - const char GENESIS_COINBASE_TX_HEX [] = "";
- const uint64_t CRYPTONOTE_PUBLIC_ADDRESS_BASE58_PREFIX = 0xe9; // addresses start with "f"
These changes in the /src/CMakeLists.txt
- set_property (TARGET daemon PROPERTY OUTPUT_NAME "yourcoind")
# 6 Compile the project
To compile the project you only have to run make in the main directory and wait for 5-10 minutes to generate the executable files in /build/release/src .
# 7 Generate the Genesis block
It will be necessary to create the Genesis block to execute the cryptocurrency daemon and copy the hash in the previous file.
yourcoind --print-genesis-tx
# 8 Insert the Genesis block and recompile the project
Insert the previous code and recompile again with make.
const char GENESIS_COINBASE_TX_HEX [] = "013c01ff0001ffff ... 785a33d9ebdba68b0";
# 9 Execute the yourcoind process
Go to the path /build/release/src and execute the daemon of our cryptocurrency.
# 10 Use the yourcoind daemon and the simplewallet
To mine your virtual currency you can use the simple wallet and the coins will be sent to your wallet.
First execute the yourcoind daemon and then open simplewallet and create a wallet (specify a name) with a password. Then type start_mining 2 to mine with 2 threads.
In a few minutes, type balance to show the balance of the wallet.
Since the difficulty is very low in these first blocks, it can be mined "alone" without the need for a pool.
Cryptocurrency based on ERC20
ERC20 is a standard for creating tokens with Ethereum. This is technically complicated, but less than the previous one.
We will explain step by step how to create an smart contract of ethereum with solidity . In order to successfully complete this basic example, it is necessary to have a minimum knowledge of cryptocurrencies, wallets, and Ethereum.
Once you master the simple smart contract, you would be able to download an standard ERC20 contract from the web.
What do we need?
Currently there are some useful tools such as:
- Metamask , which is a plugin for web browsers
- Truffle which is quite a development environment
- Mist which is a Dapps explorer (distributed applications)
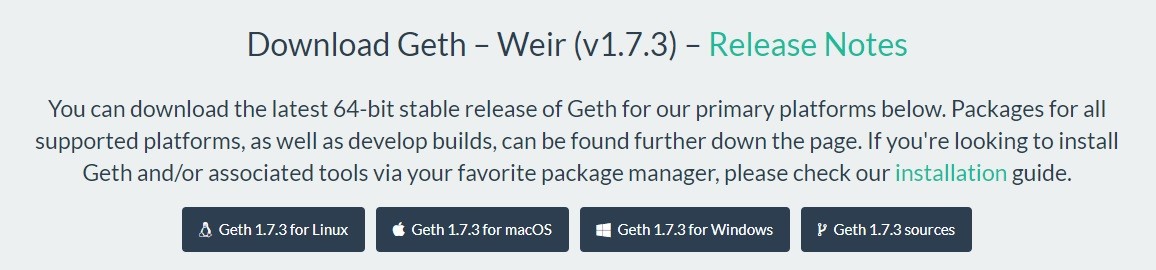
- Geth which is a client programmed in Go
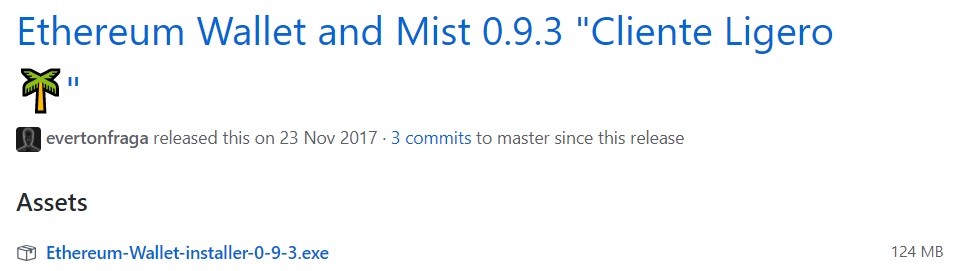
- Ethereum Wallet which is a portfolio that allows to deploy contracts
- Browser Solidity is a cloud editor and compiler to work with smart contracts.
In our case we are going to use Geth (a client of ethereum in Go and Ethereum Wallet an application that will serve us to deploy smart contracts located in the blockchain.
Download and install the programs
First let's download and install Geth . If we use Windows, the best option is to download the 64-bit installer, although there are also versions for other operating systems.
Once downloaded, we will install it on a disk drive that has enough free space in case we want to download the entire chain of blocks from ethereum (public network).
Next we will download the Ehtereum Wallet . We can download the installable or the zip to unzip it in the folder that we want.
Creating a private block chain
To make the test contracts we will create an ethereum private network on our pc with a node that will contain our own private block chain. For this we will open a "System Symbol" window and we will go inside the geth installation folder and execute:
geth --datadir=./cadenadebloques/ --dev
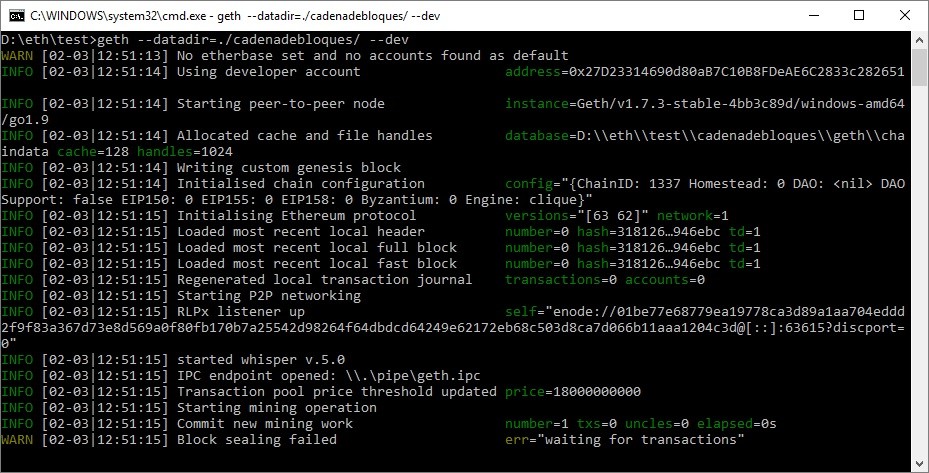
This statement will create the folder "geth" and "keystore" within the folder "bloquedebloques". Inside the folder "geth" we will find the folder "chaindata" with the information of the chain of blocks.
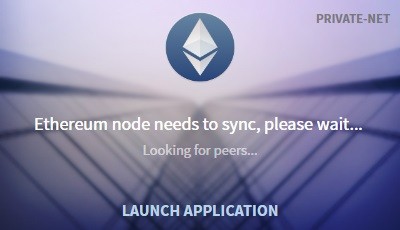
Once downloaded and installed, we will open the Ethereum Wallet application and it will detect the execution of geth in virtual private network mode with 0 peers, we will click on "LAUNCH APPLICATION".
Just open the application of Ethereum Wallet can give us a heart attack to see such amount of Ether in our wallet!
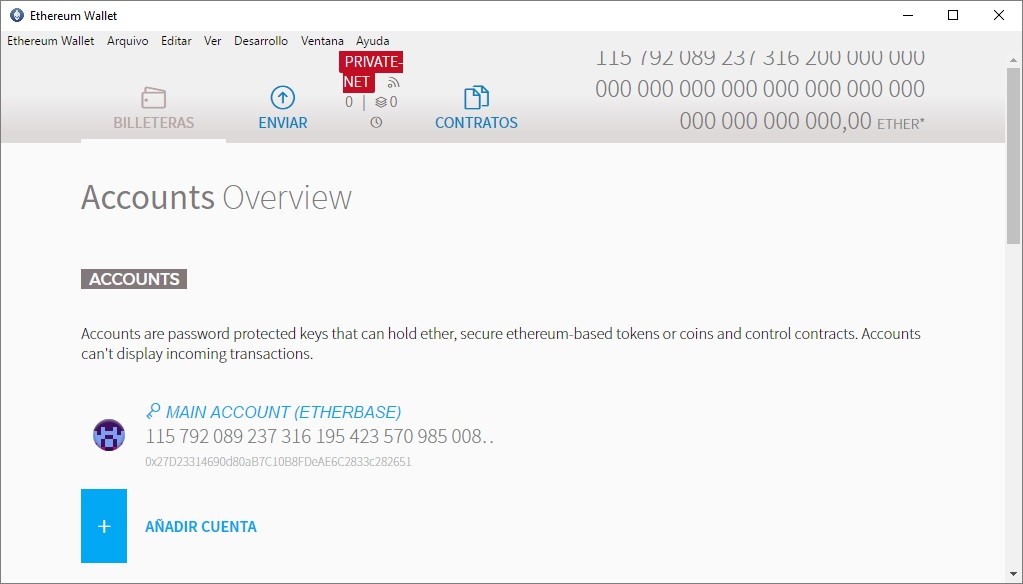
By default, the main account (etherbase) will be created with a lot of ether, but we will add another account to carry out our transfer tests. We will click on "ADD ACCOUNT" and we will specify a password. Once created, we will click on "stay anonymous".
Note : You can open the geth command console in the installation path of geth we will write:
geth --datadir=./cadenadebloques attach
This will open a specific geth console linked to the first instance of geth that we execute.
Creation of an smart contract
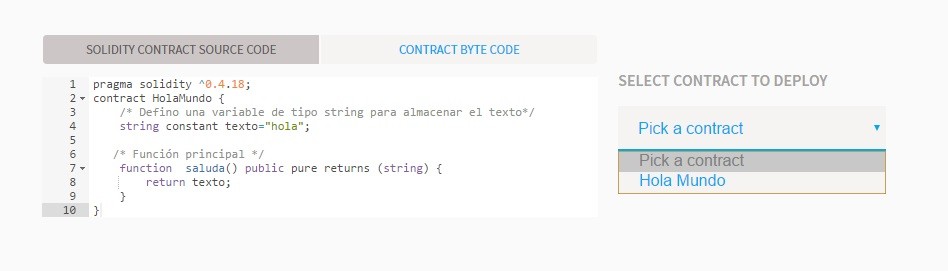
To continue we will create a simple contract. The "hello world" of smart contracts, that the truth has no smartness.
pragma solidity ^0.4.18;
contract HolaMundo {
/* Defino una variable de tipo string para almacenar el texto*/
string constant texto="hola";
/* Función principal */
function saluda() public pure returns (string) {
return texto;
}
}
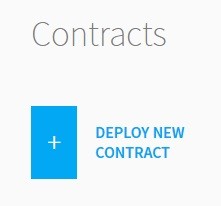
We click on the "CONTRACTS" tab and then on "DEPLOY NEW CONTRACT": Below in the text box we will paste the example code above.
In the drop-down list "SELECT CONTRACTO TO DEPLOY" we will select "Hello World".
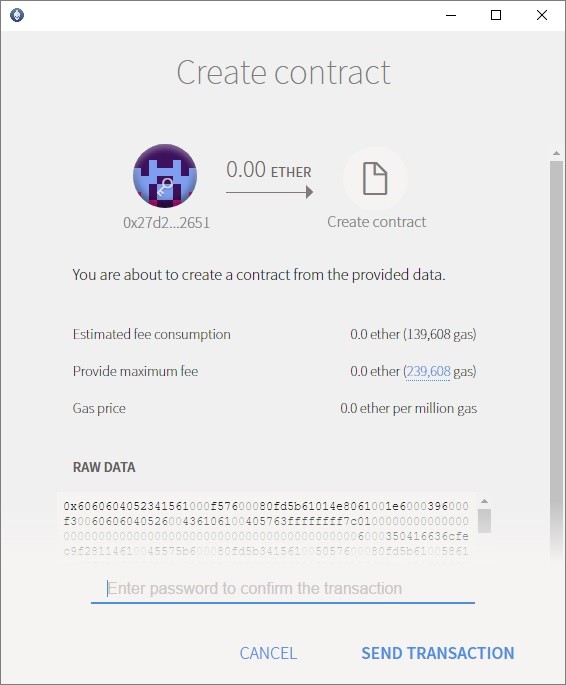
We will get an option to select the fees (fees), depending on how quickly we want to undermine the contract, will apply one or the other.
Once this is chosen, we will get a new window "Create contract" with the total of commissions, including the price of gas, we will only have to put the password of our main account (which by default is blank) and click on "SEND" TRANSACTION ".
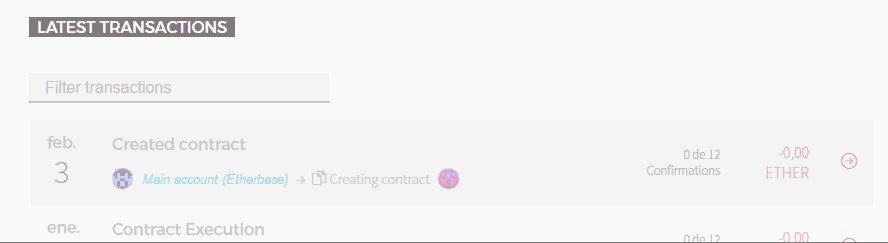
Mining of the smart contract
Next we will have to mine the contract to be included in the blockchain. For this, it will be enough to make ether transactions between the two accounts we have.
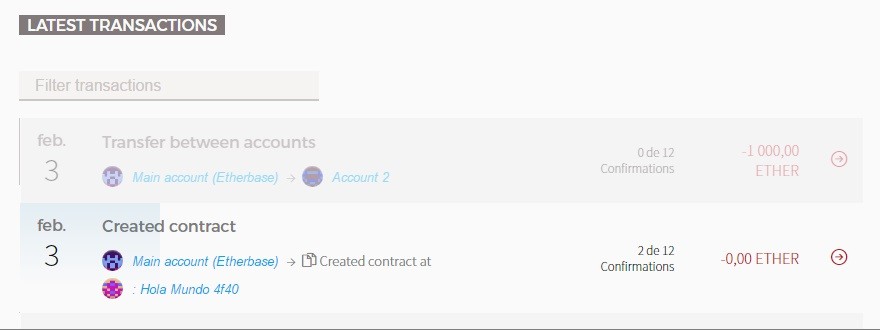
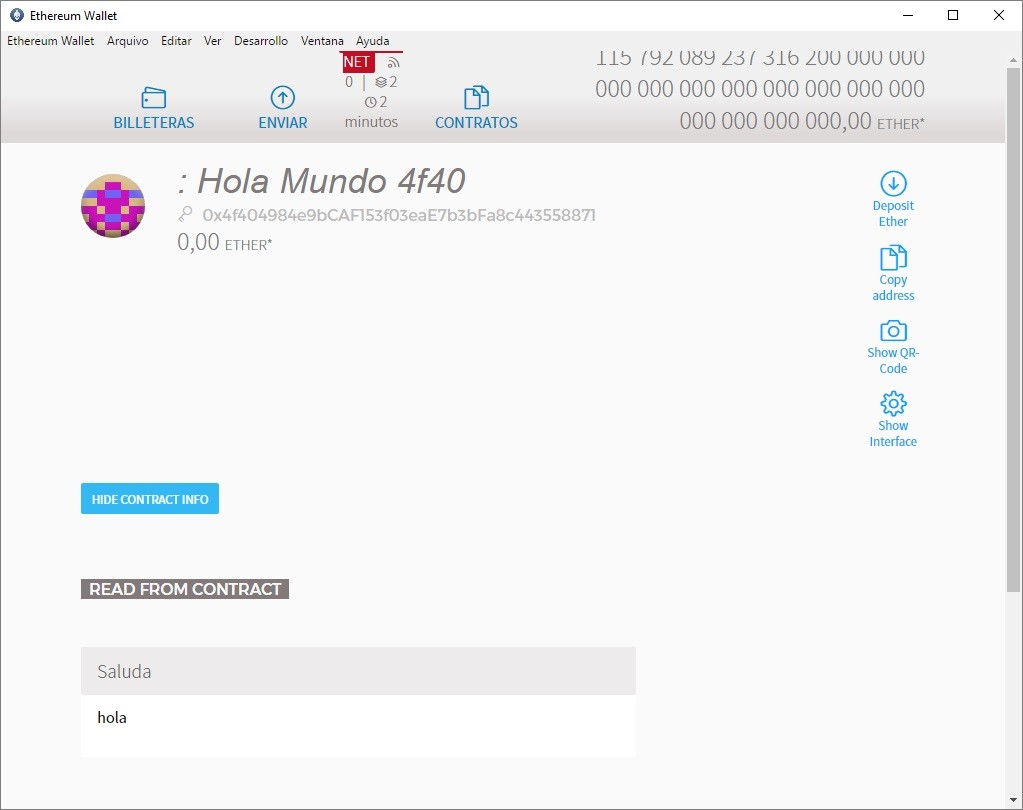
Once mined we can enter the detail of the contract and we will see the result of the greeting method that returns the string "hello".
As a complementary example you can display the same contract that allows you to change the greeting text:
pragma solidity ^0.4.18;
contract HolaMundo2 {
/* Defino una variable de tipo string para almacenar el texto*/
string texto="hola";
/* Función principal */
function saluda() public view returns (string) {
return texto;
}
function cambiaSaludo(string _sal) public {
texto=_sal;
}
}
Once deployed and mined we can see the detail and make a call to the method changes Health.
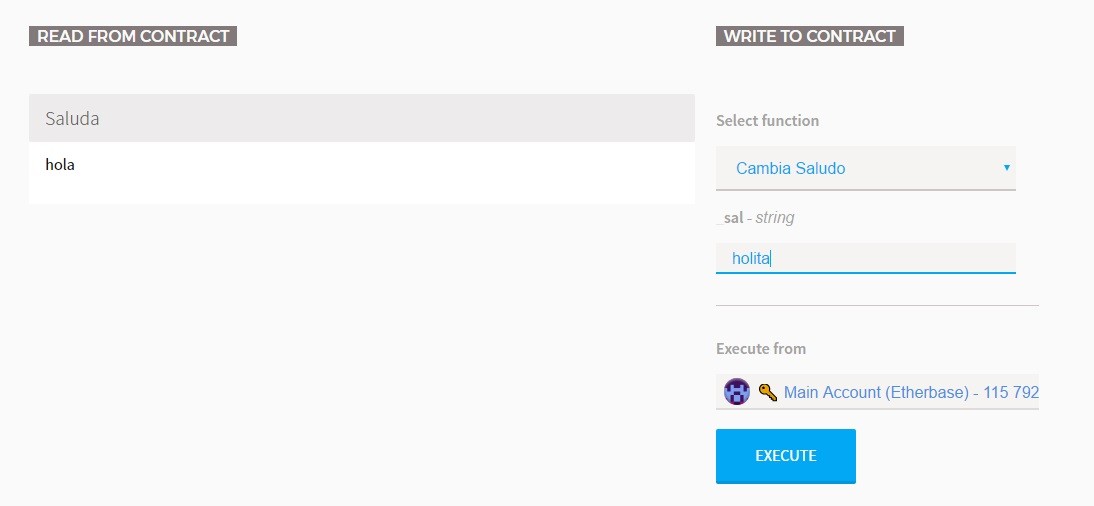
We will see how the value of the contract variable is now "holita".
Keep in mind that deploying contracts in Ethereum public network will cost in Ether, as well as the execution of some contract transactions. You could buy some Ether in Changelly.
Cryptocurrency based on NEM Mosaic
This is the easy one. Just install Nanowallet, buy some XEM, and create a Mosaic.
First a namespace is needed, then you can create a mosaic to create cryptocurrency.
Namespaces
The namespaces are similar to the domain names on the web. We can find root namespaces and subnamespaces. This allows the same organization to create different subdomains for different projects.
There is a rental fee of 10 XEM to publish it every year. You could create a subnamespace if you wish.
Mosaics
Mosaics represent digital assets, which are stored under a namespace and subnamespace. XEM is in turn a mosaic. These mosaics facilitate the task of creating Tokens, licenses, contracts, etc ...There is a rental fee of 10 XEM to publish it every year.
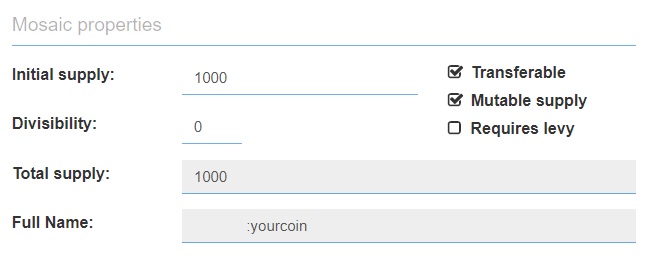
Mosaic properties
Creating a Mosaic is an easy task. Just config the Initial supply (the number of tokens that are going to exist when the mosaic is created), divisibilityi (like decimals), total supply (total supply of tokens), and full name (it is formed with the root domain+mosaic name).
Also you must check if this token is transferable (it is desirable if you are creating cryptocurrency), has mutable supply (can change supply in the future), and if requires levy (it requires fees when transfering this cryptocurrency between accounts).